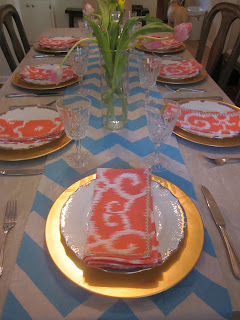
Being the amateur table setter that I am, I searched high and low for pretty table settings on pinterest for our Easter Celebration.
I kept coming back to these two pretties...
Bellasimo & Bella
Pinterest
Then I hit jack pot and found this tutorial
...and from there my attempt at another DIY was born.
{Insert rolled eyes from husband & comments like 'can't you just go buy one'. I'll admit it's not that he isn't supportive, he's just a clean freak and has seen my too many of my diy attempts gone bad, so he isn't easily sold. Not to worry, this one left him impressed}
Supplies Needed:
Drop Cloth: I had on hand so free for me but total cost $10
Duct Tape: Had on hand but no more than $5 to buy
A fun color spray paint: $4.98
No sew tape from Michael's: $3.00
And here it is all ready to be sprayed...
First coat down ...
Tip: I learned from the YHL team to apply many thin and even coats. I applied maybe 4 coats.
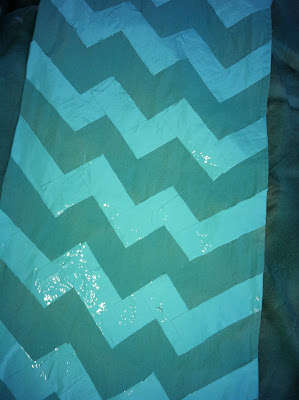
And here it is the next morning after a night of drying..
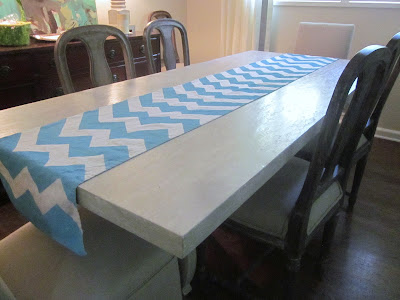
Lastly, completed and on the table...
Success without any fails. And even better, the satisfaction of doing it all by yourself.
I think it turned out quite pretty and it really was a painless process. I know this sucker will get all kinds of use.
Working my way to being a DIY Diva.....


I love it! I had no idea you made it yourself! Kudos to you!
ReplyDeleteI love this as I feel I am in the same boat but have to throw a shower soon. Where did you get the gold charge plates? looks awsome.
ReplyDelete